What is chromatic aberration?
“In optics, chromatic aberration (also called achromatism or chromatic distortion) is the failure of a lens to focus all colors to the same point”, is the first sentence in the Wikipedia entry on chromatic aberration. Basically light enters a lense in the same, aligned direction but due to the mechanical advice and its imperfection – the light leaves the lense in several unaligned directions.
We should leave the technical question at this point as well. For further information I recommend the full article.
How does that affect an image?
Chromatic aberration looks like “purple fringing”. On the image below you can see longitudial chromatic aberration. In this case all edges of your subject have purple fringes. If there are additional green fringes you speak of lateral chromatic aberration. Again for further technical information I recommend reading the article on purple fringing.
The good
The most convenient solution for chromatic aberration is using Adobe's Camera Raw. For those amongst you who use Photoshop but never headed for Camera Raw here you go.
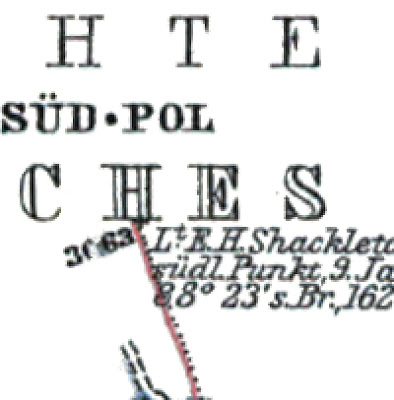
Camera Raw is freeware that enables you to work with the raw material from your DLSR. To explain the full workflow and the advantages and disadvantages of Camera Raw would be enough information for a second article – so let us focus on dealing with chromatic aberrations and purple fringing. I recently edited a map of the South Pole which had some problems.
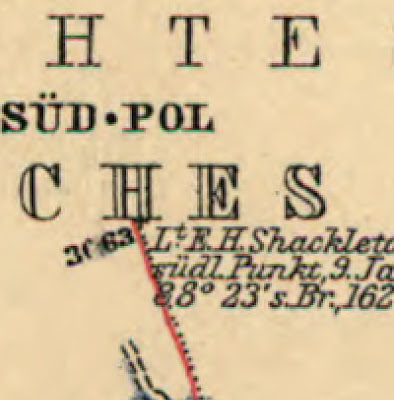
This image was cropped at 400% - the occurring greenish/reddish fringing is between 1-3 pixels. First step is to open your Raw file with Photoshop. If Camera Raw is already installed, this should be possible by double-clicking the file.
Note: If your file is not a Raw file you could nonetheless open it using Camera Raw. Here's a short how to:
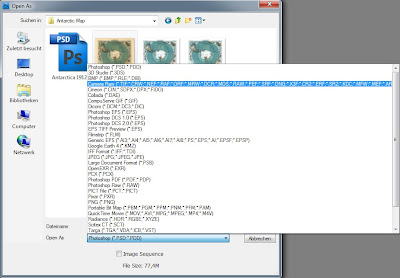
Photoshop >>> File >>> Open as…

>>> [yourfile].[yourimageformat] >>>
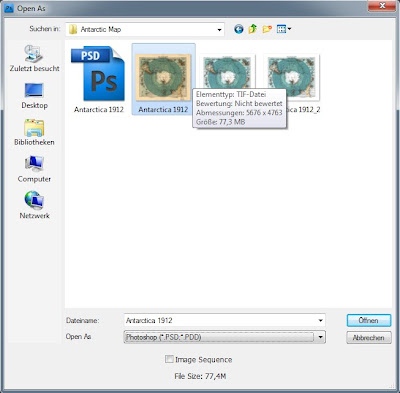
Open as: Camera Raw
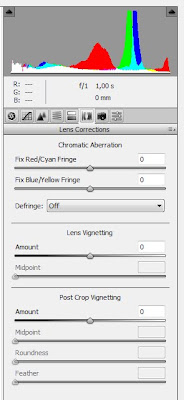 In the next step the Raw dialog should open up. The third tab from the right is “lens correction” – that’s where we will start working. The section “Chromatic Aberration” is almost self-explanatory. Depending on the colour fringing of your image you either adjust red/cyan or blue/yellow. The larger the colour fringing the easier to remove it – but don’t panic if otherwise.
 In this case you could use “Defringe: All Edges” or “Defringe: Hightlight Edges“. “Defringe: All Edges” will remove the colour fringing, but also results in subtle grayish lines. For my image this solution appeared to be the optimum. The defringed image tends to be a little bit desaturated, so I recommend you to slightly increase the saturation and if needed contrast. It might be helpful to have the original layer and the adjusted layer in your layers palette to directly compare what values of saturation/contrast fit the most for your project. “Defringe: Highlight Edges” is to be used if most of the colour fringing occurs in edges of highlighting, which is quite often the case. Just feel free to play around with the sliders.
After a few hours of work including temperature, levels, curves, saturation and restoring the map the finished version looks like this:


1 comment:
Wow, thanks for the info. I had been using the "Reduce color noise" option in the Noise reduction filter previously. I had no idea there was a specific way of fixing chromatic aberration.
Post a Comment